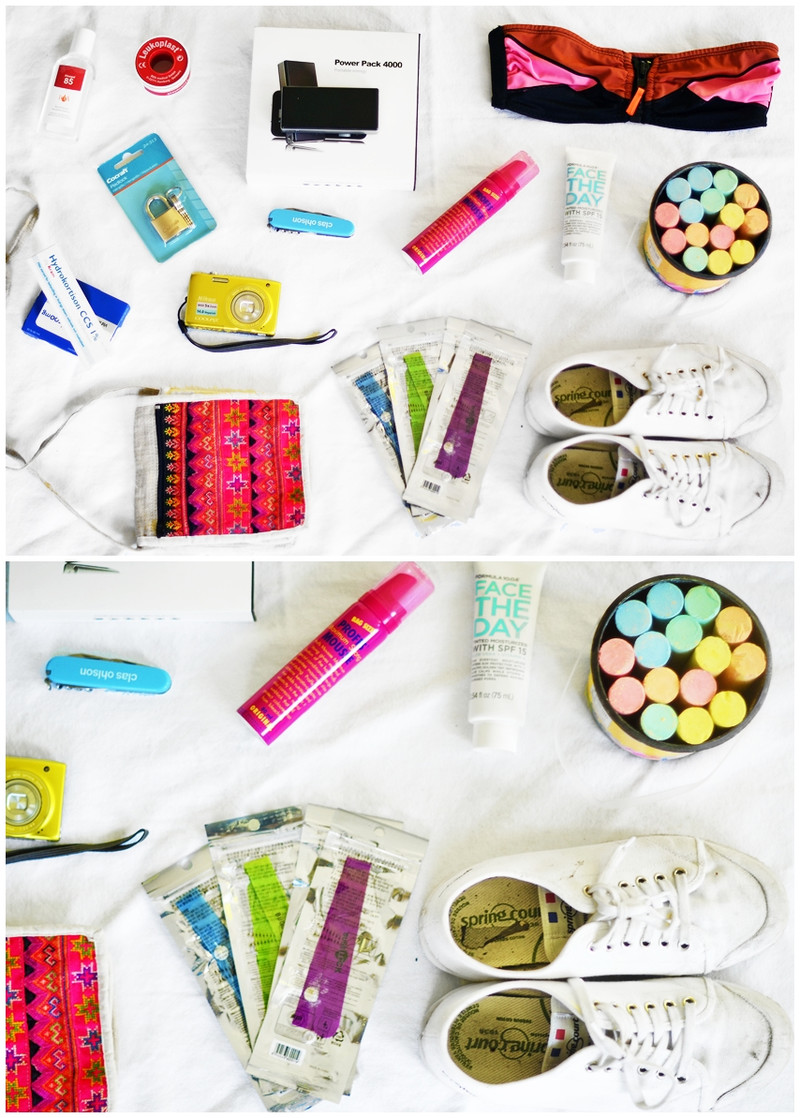
Ja, några av er ville ju att jag skulle visa hur jag redigerar mina bilder. Här har ni en liten guide på hur jag i de allra flesta fall gör! Jag arbetar i Photoscape som går att ladda hem HÄR. 1) Öppna Photoscape och klicka på “redigerare”. 2) Klicka på överstrålning och dra i markörerna tills du känner dig nöjd. 3) Klicka på Filter>Filmeffekt och välj en effekt som du tycker passar bilden. Jag väljer olika varje gång men för tillfället har jag fastnat lite för Provia. Spara bilden när du är nöjd. Klart! Längst ned i kollaget ser ni före/efter-bild. Enkelt, va?
Yes, some of you wanted me to show you how I edit my pictures. So here’s a small guide on how I, in most cases, do it. I use “PhotoScape” which can be downloaded HERE. 1) Open Photoscape and click the “Editor”-button. 2) Click the “bloom”-button and drag the markers until you feel satisfied. 3) Click on Filter> Film Effect and select an effect that you think fits the picture. I choose different effects every time but for this picture I used Provia. Save the image when you are happy with it. That’s it! At the bottom of the collage you can see a before/after-image. Simple, huh?


